Create a outbound/return record
This guide shows you how to create an outbound or return record. If you're not familiar with what outbound & return record is, read concepts first.
Prerequisite
To create an outbound or return record, you need a machine log in the system. If you don't have one, follow the steps in how to create a machine log before continuing.
Steps
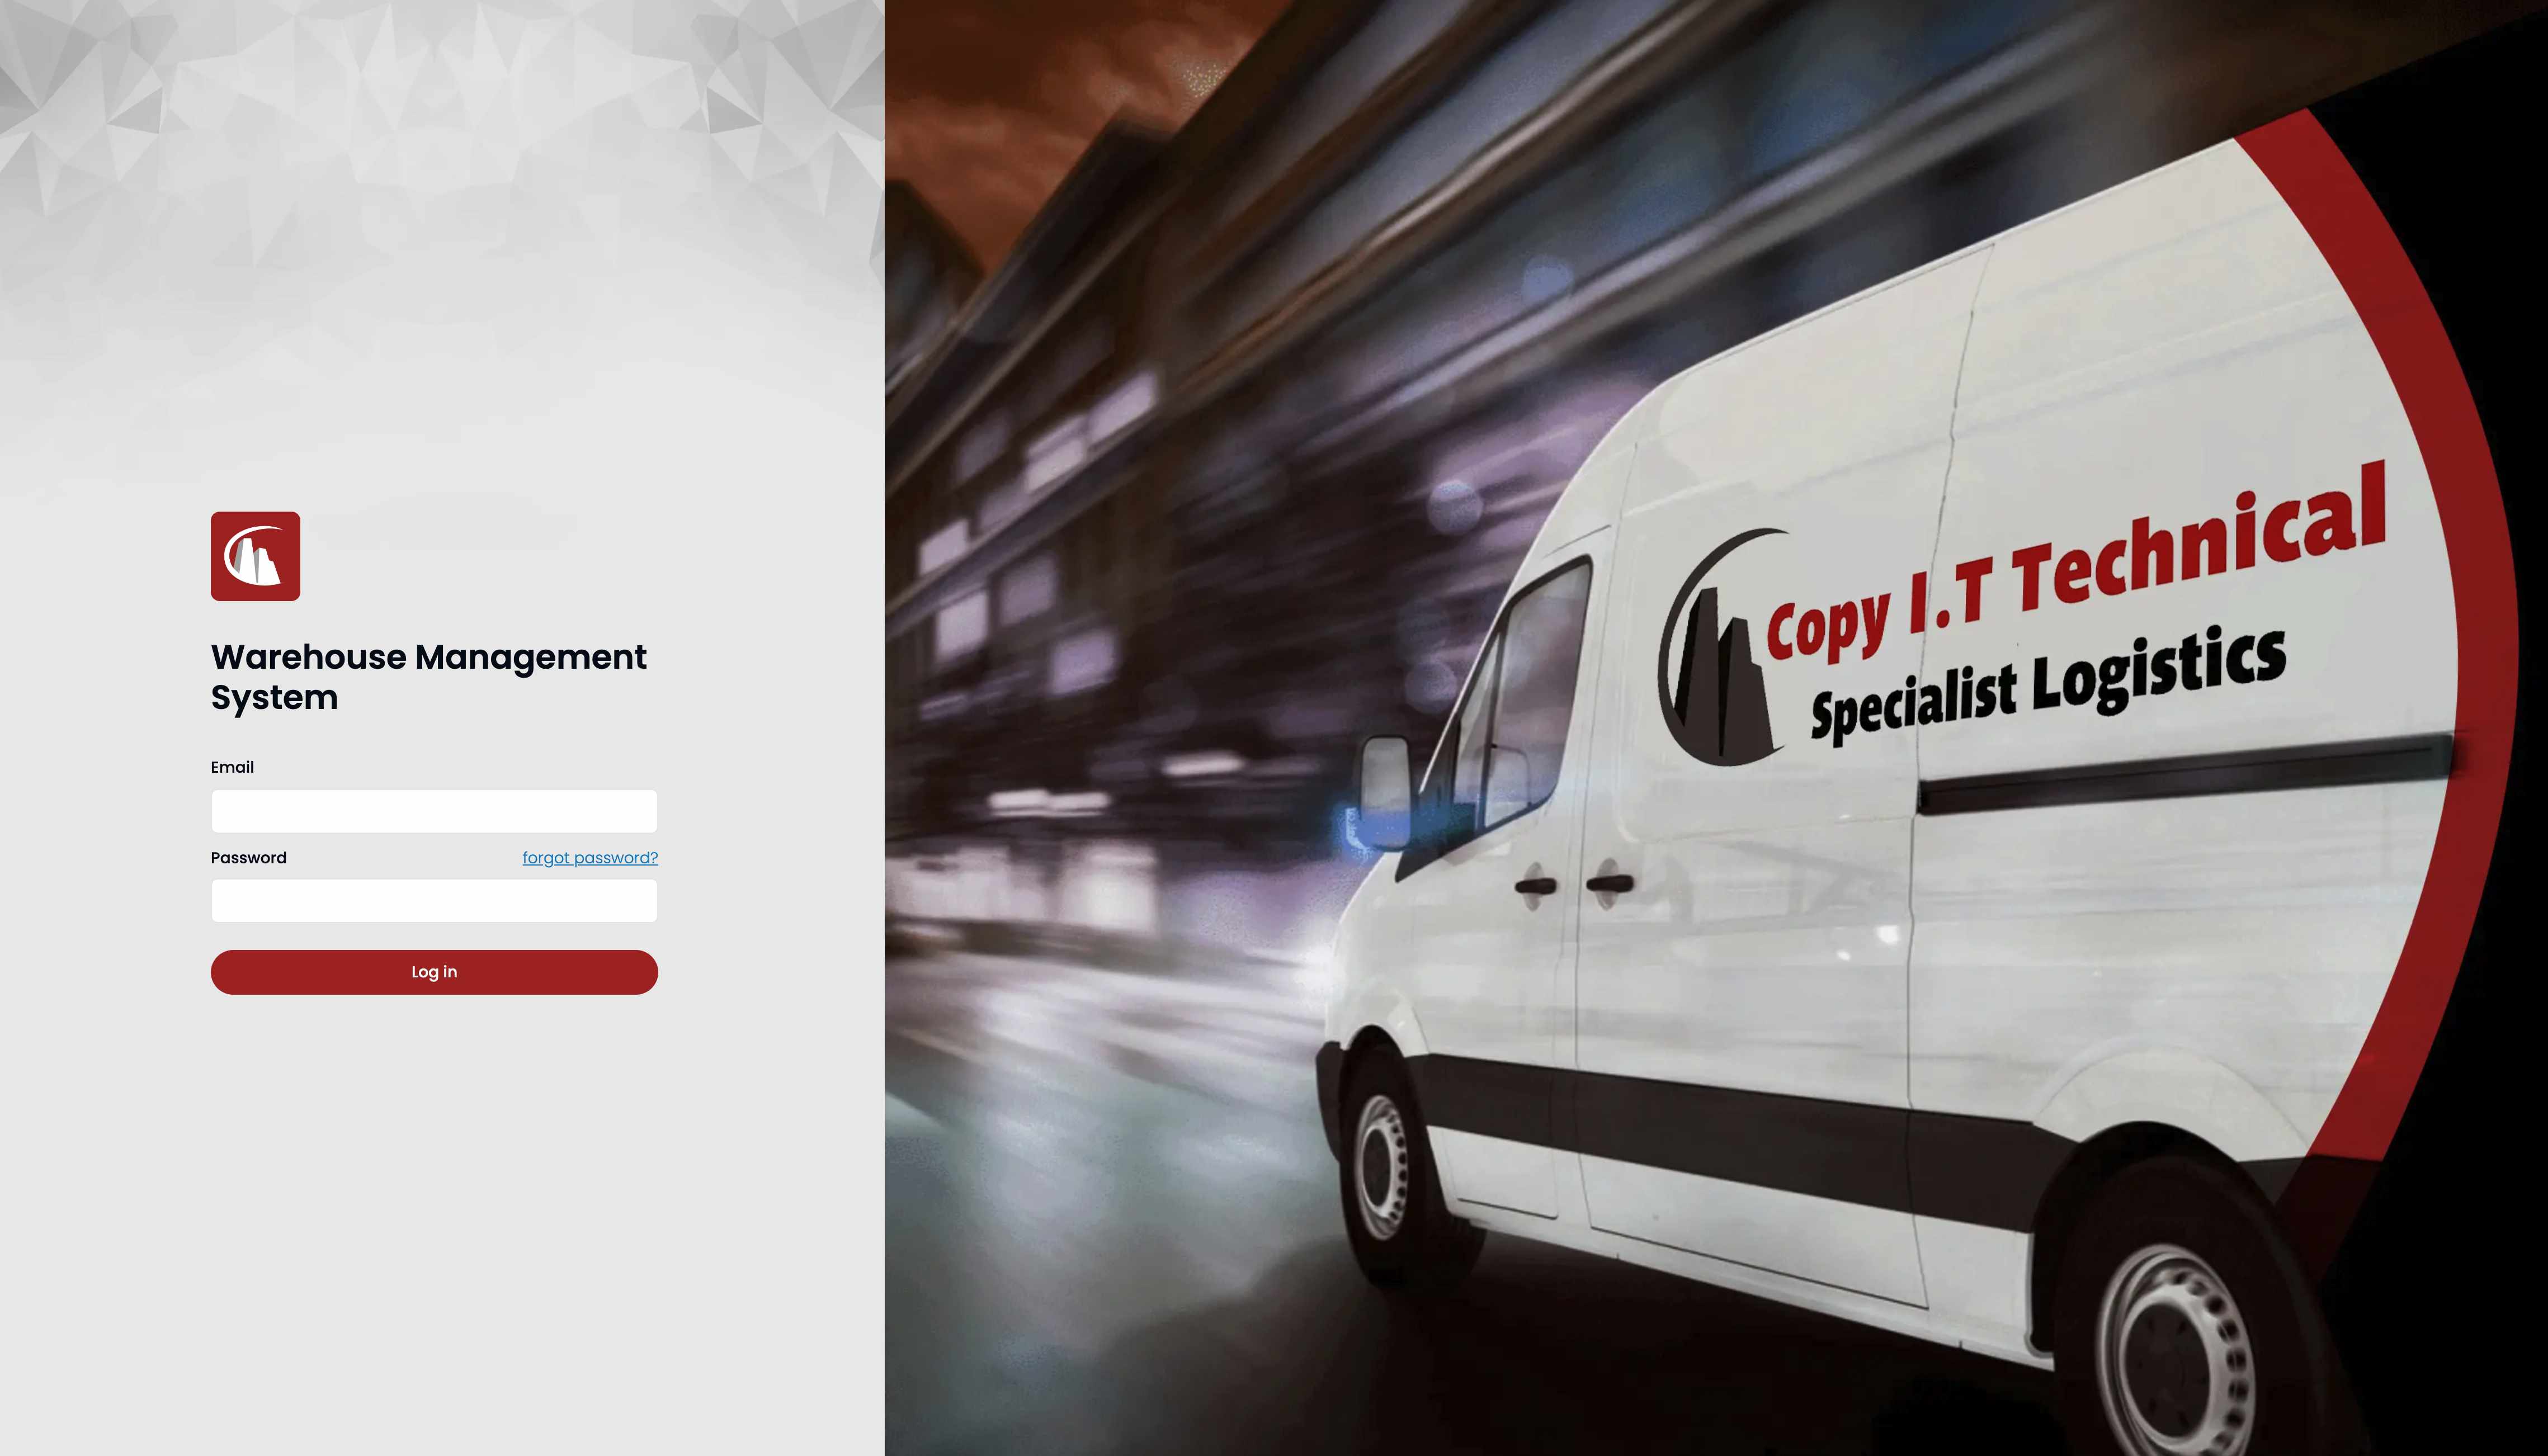
Step 1: Log in
Navigate to the landing page and then log in using your credentials.
Note
If you forgot your password, follow the steps in how to reset my password.
Step 2: Go to Operation Dashboard

Step 3: Decide which record to create
Both records work similarly but are in different sections of the system.
Outbound Record
For outbound records, click the Outbound Scanning button on operation dashboard.
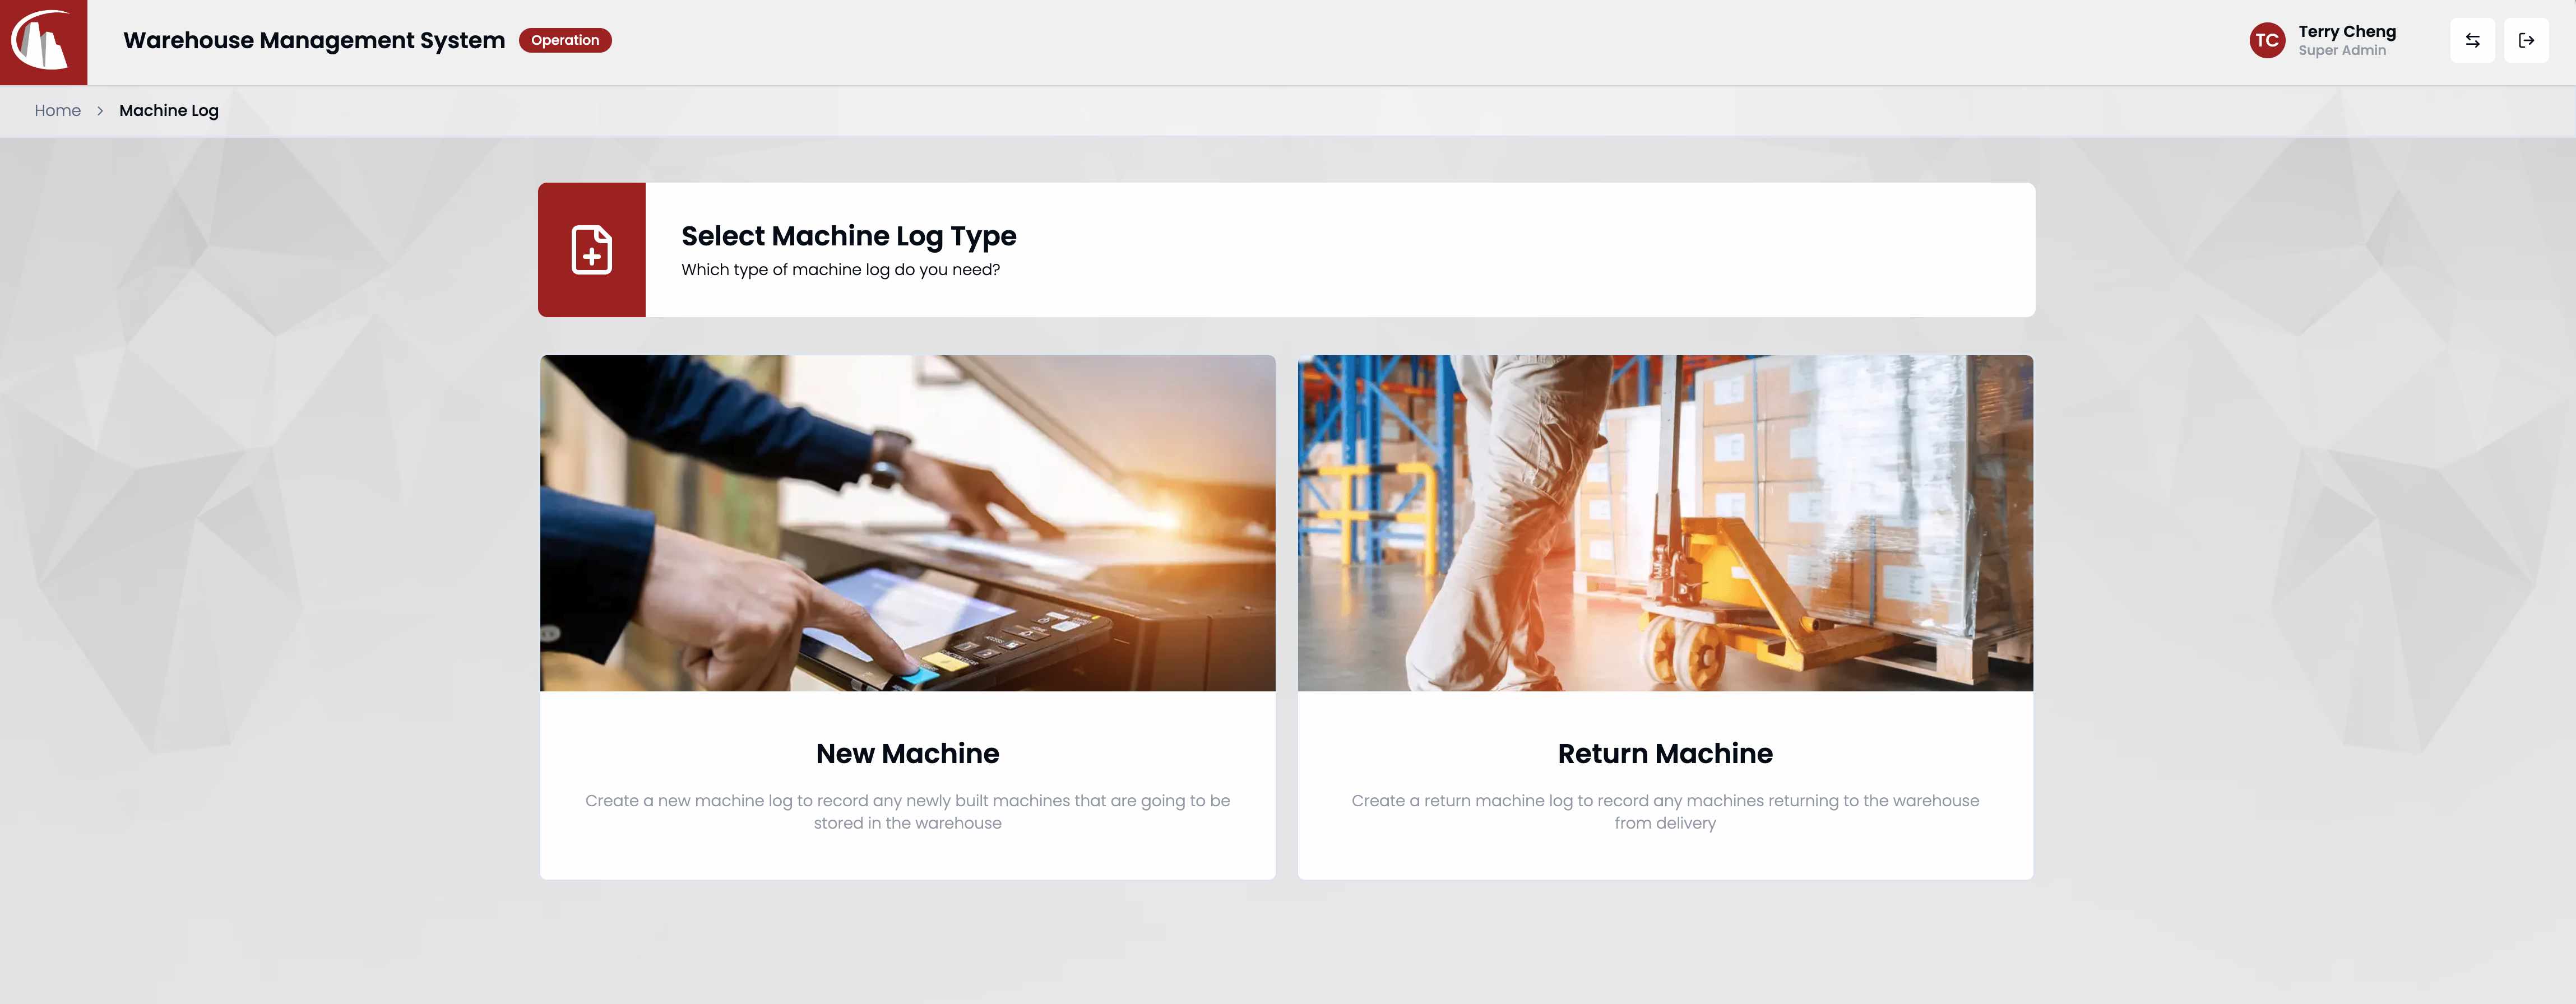
Return Record
For return records, click the New/Return Machine button on operation dashboard, and then click Return Machine button (see screenshot shown below).
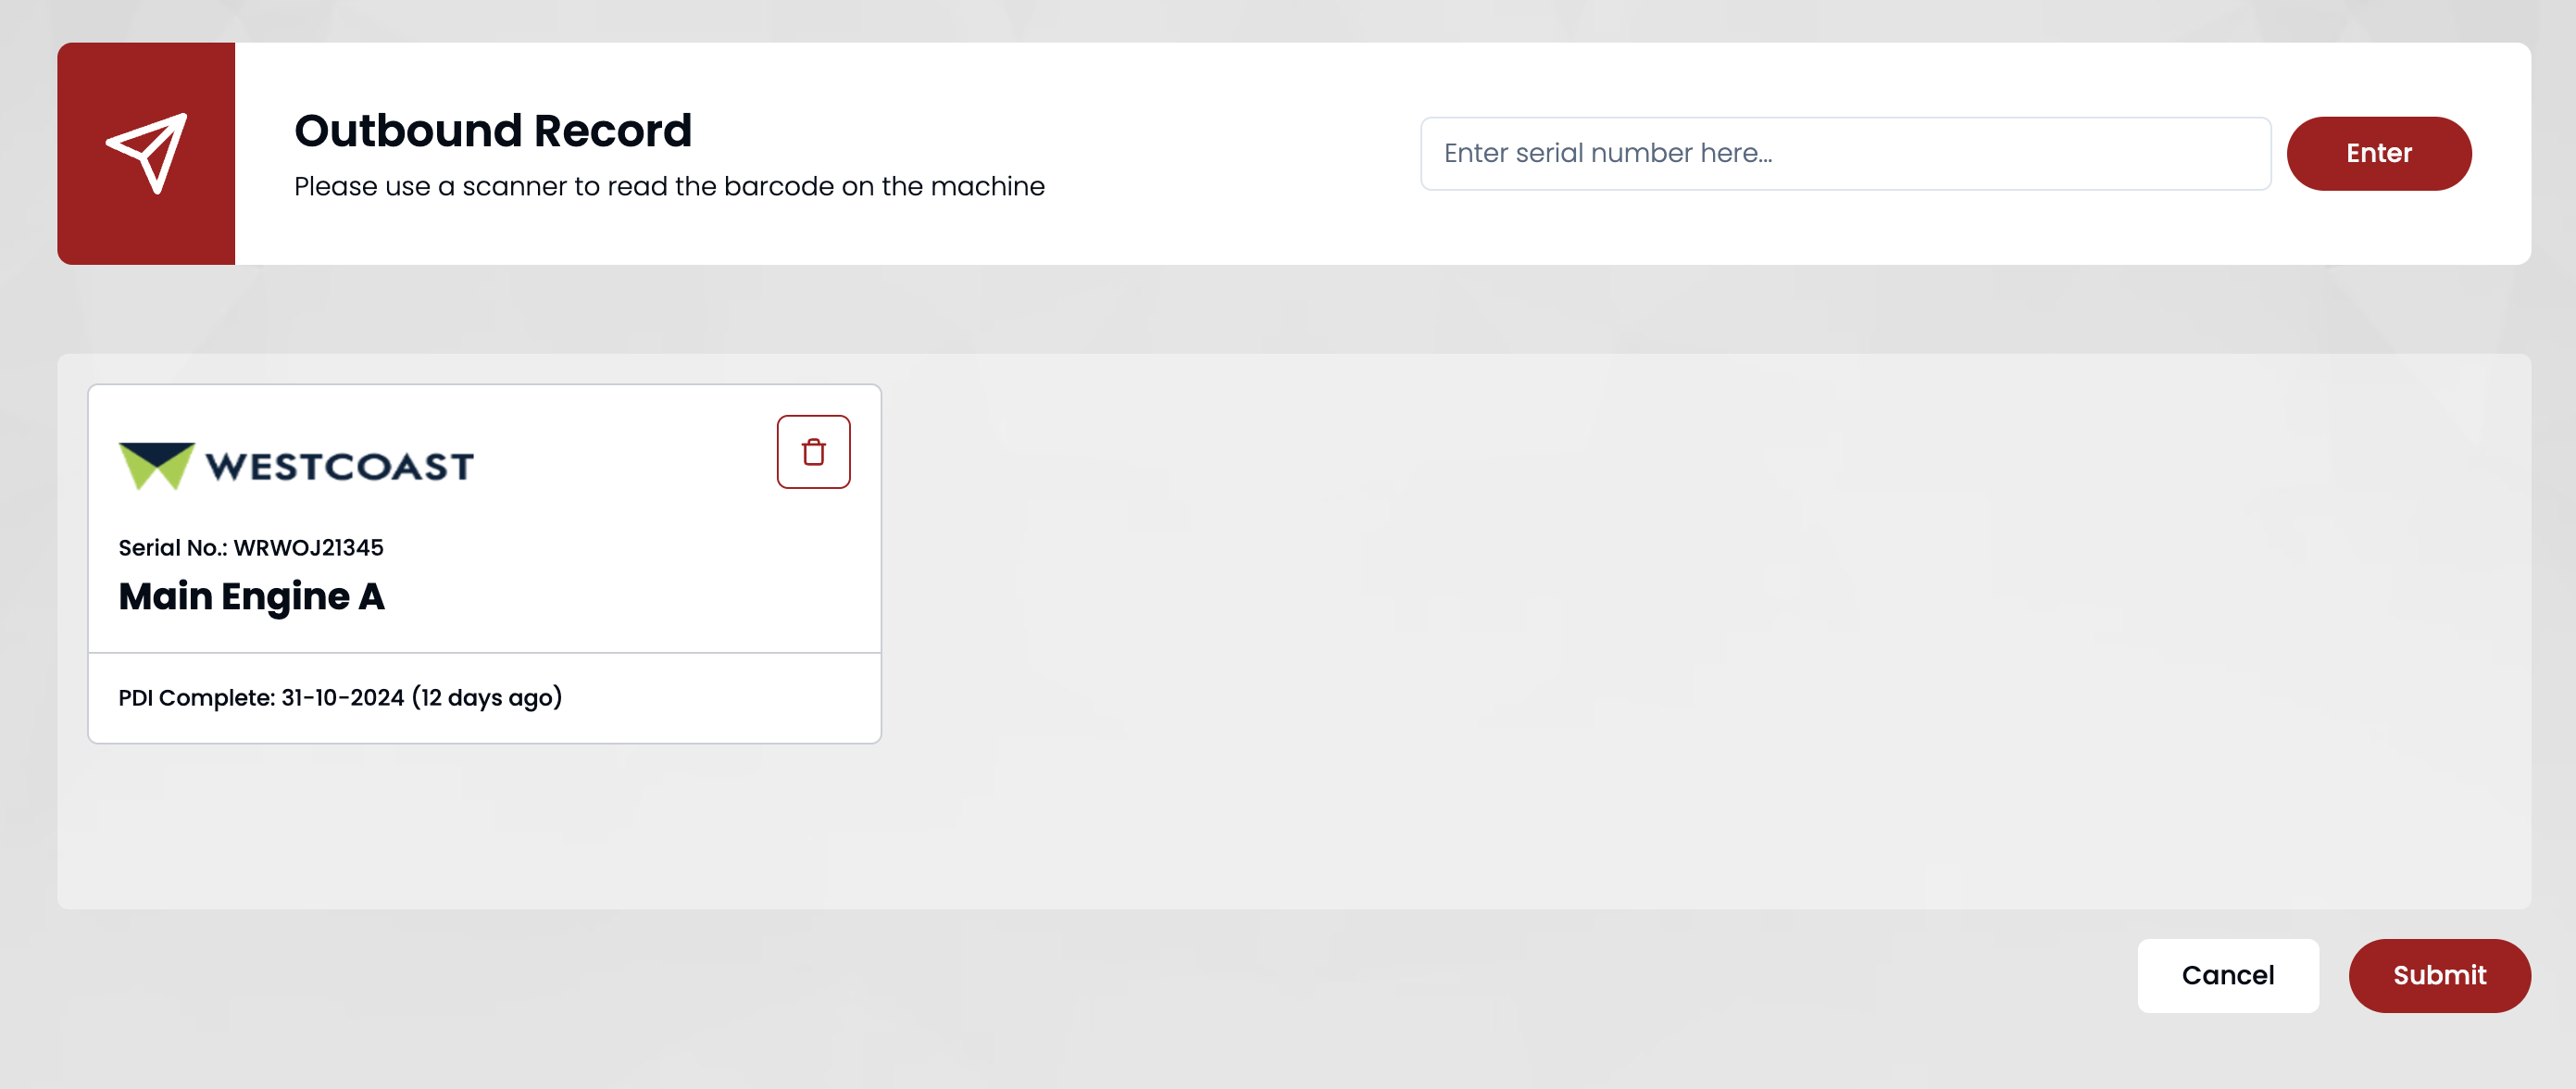
Step 4: Enter serial number
There are two ways to enter the serial number.
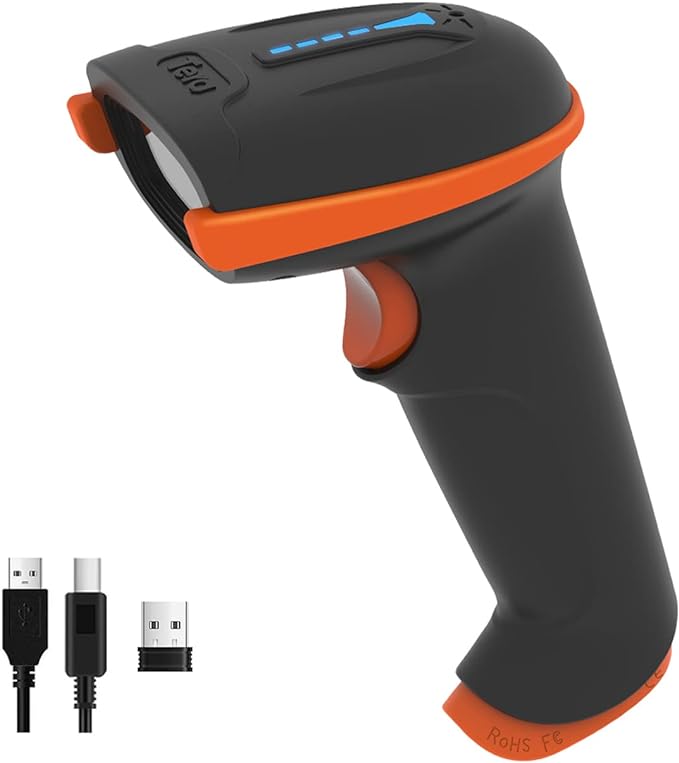
Barcode scanner
There should be a barcode scanner (like the following image) connected to this computer. Select the input field in the header with your mouse, then scan the barcode on the label.
Note
If you put the label in a low-light environment, like under the table or away from a light source, the barcode scanner will work better.
Manually typing
Select the input field in the header with your mouse, then type using the keyboard. Click submit when finished.
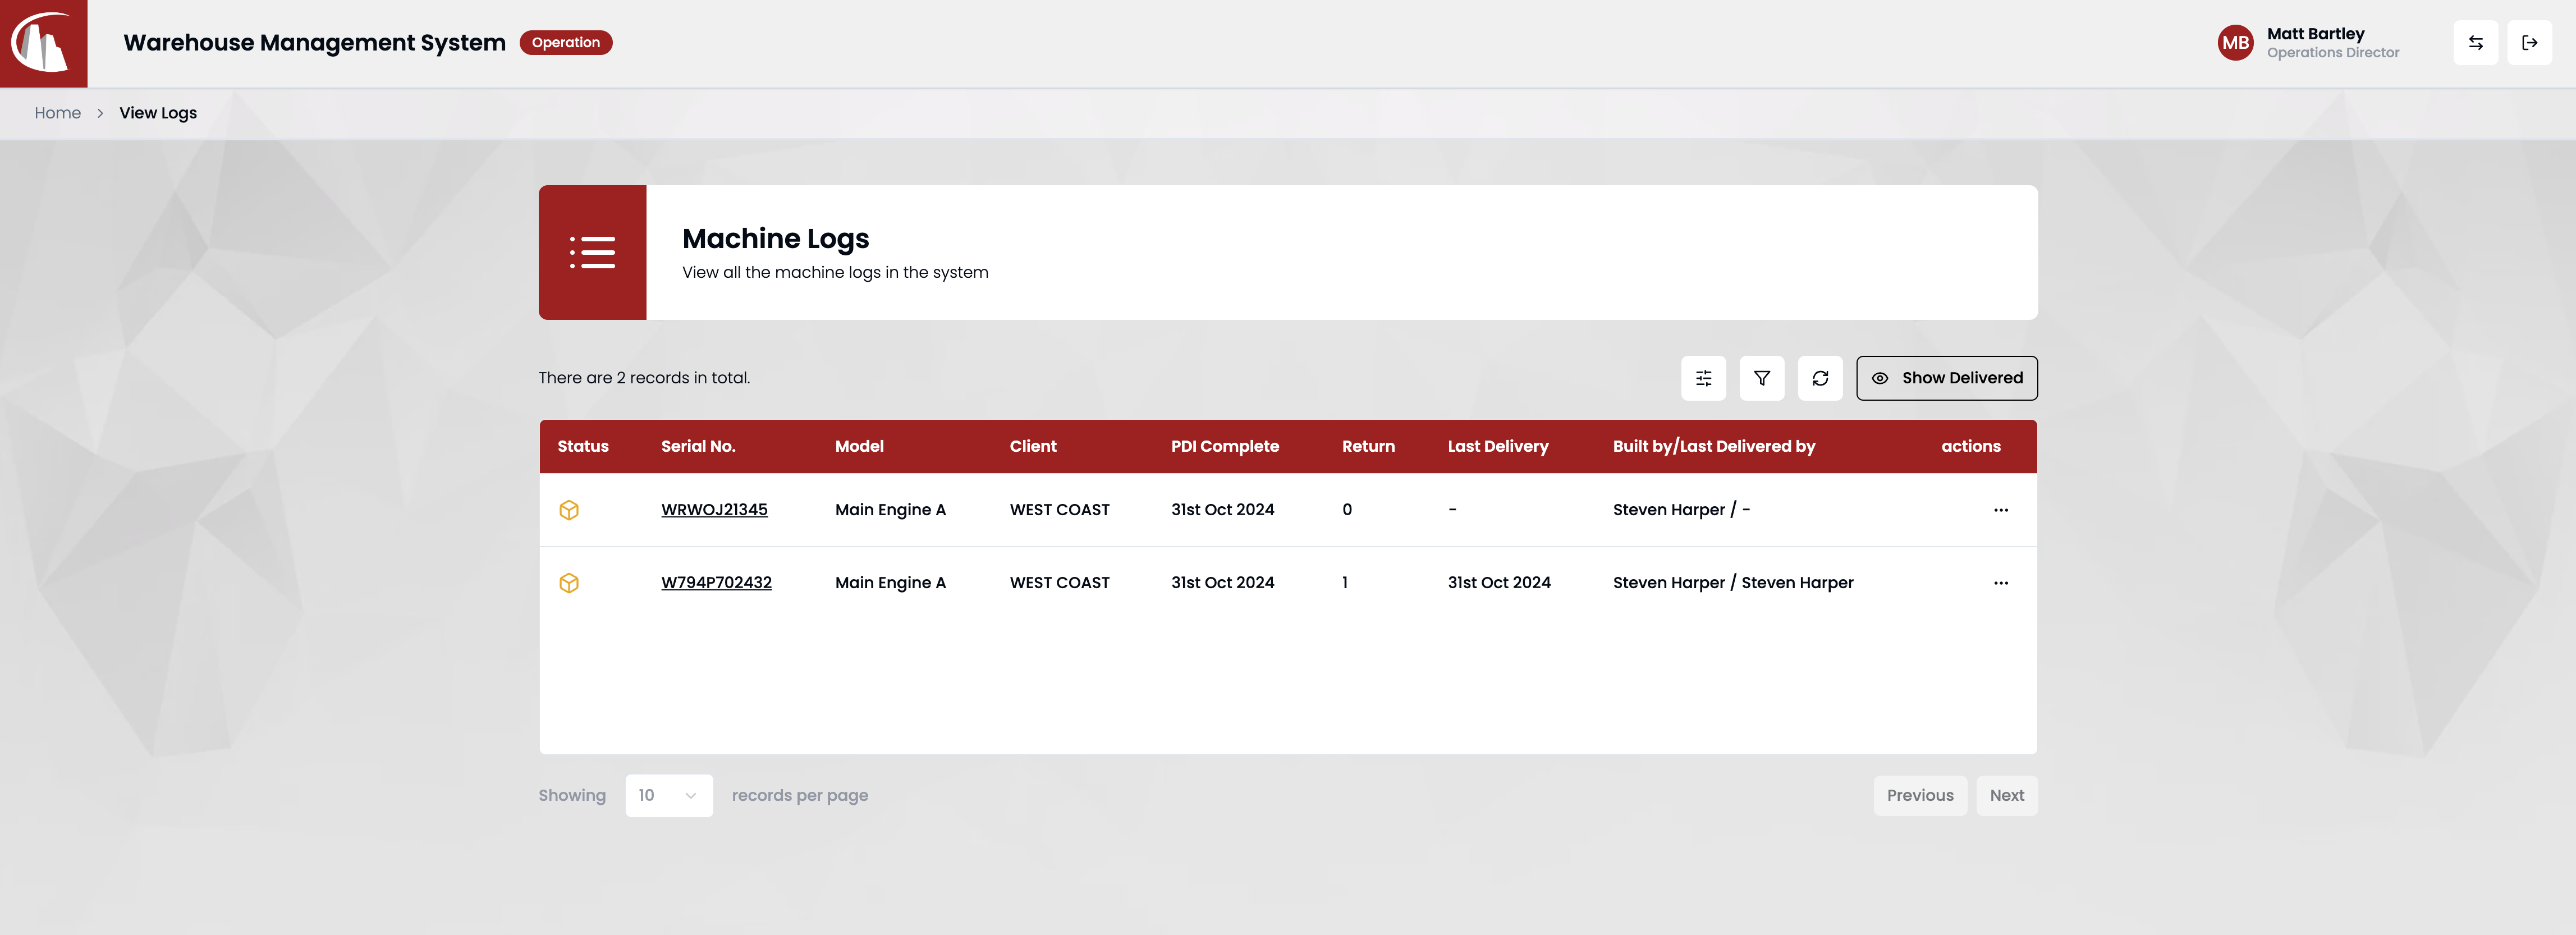
Step 5: Submit & Check
After submission, navigate to /operation/logs or click View Logs on operation dashboard to check the changes.